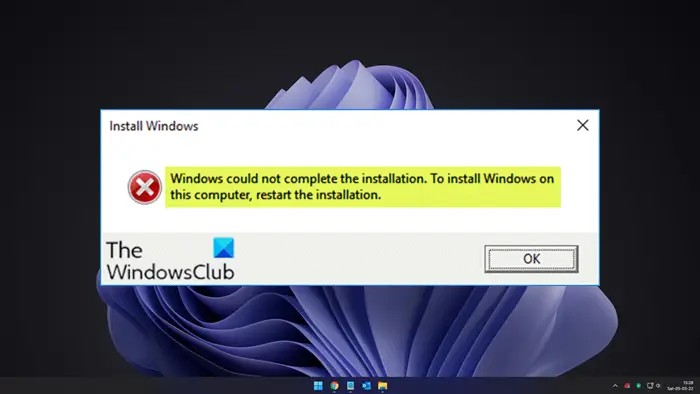
When you encounter this issue. you’ll receive the following full error message;
You can encounter this issue when a fresh Windows installation is interrupted before a user account is created. This error may also occur when upgrading from Windows 7/8.1/10 to Windows 10/10 or upgrading Windows 11/10 to a newer version/build. In some cases, you may encounter this issue when you try to reset Windows 11/10 as reported by some users. However, this error essentially means you are using Audit Mode to install Windows which is the main cause of this error. When Windows boots for the very first time then either it can boot to OOBE or Audit Mode.
Windows could not complete the installation
If you’re faced with this issue, you can try our recommended solutions below in no particular order and see if that helps to resolve the issue. Let’s take a look at the description of the process involved concerning each of the listed solutions.
1] Run Automatic Startup Repair
As you’re receiving the error message Windows could not complete the installation after/during updating/upgrading Windows 10, you can try running Automatic Startup Repair and see if the issue will be resolved.
2] Enable Administrator Account
Do the following:
On the error screen press Shift + F10 to open Command Prompt.Type mmc and hit Enter.In the window that opens, click File > Add/Remove Snap-in.Select Computer Management and then double-click on it.In the new window that opens select Local computer.Click Finish.Click OK.Then double-click Computer Management (Local) > System Tools > Local Users and Groups > Users > Administrator.Make sure to uncheck the Account is disabled option.Click OK.Next, right-click on the Administrator then select Set Password and set a strong password to get started.
You can now exit MMC console and restart your computer and see if the issue is resolved or not. If the latter is the case, continue with the next solution.
3] Start Account Creation Wizard
Do the following:
Again open the Command Prompt on the error screen by pressing Shift + F10 key combination.Type the directory path below and hit Enter.
Next, type msoobe and hit Enter.
The above will start the user account creation wizard, so create a generic account and it’s password. Your Product Key might be required here.
Once done hit Finish, exit everything and restart your PC.
On boot, check if the Windows could not complete the installation issue is resolved. Else, proceed with the next solution.
4] Change Password Requirements
If you’re in Audit Mode and the computer has just been joined to a domain, you’ll receive the Windows could not complete the installation error. The error is caused by password requirements added to the local security policy. This typically includes a minimum password length and password complexity. To change password requirements, do the following:
On the error screen press Shift + F10 to open Command Prompt.Type secpol.msc and hit Enter.Navigate to Account Policies > Password Policy.Now change Minimum password length to 0 and disable Password must meet complexity requirements option.Apply the changes and then exit the Security Policy console.Click OK on the error message to reboot your PC.
If the issue persists, try the next solution.
5] Modify some registry key values
Do the following:
On the error screen press Shift + F10 key combo to open Command Prompt.Type regedit and hit Enter.
In the registry editor windows that opens, navigate or jump to the registry key path below and on the right pane double-click on the following registry keys one after the other and modify the Value data field accordingly: Audit: 0 setup.exe: 3 audit.exe: 0 CleanupState: 2 GeneralizationState: 7 auditSystem: 0 Once done, reboot your PC and the Audit Mode will be disabled and Windows 10 will start normally and boot into the Out of Box Experience mode.
6] Disable Audit Mode
Do the following:
On the error screen press Shift + F10 key combo to open Command Prompt.Type the command below and hit Enter.
This will disable the Audit Mode.
Now exit CMD prompt and reboot your PC normally.
The Windows could not complete the installation issue should be resolved. However, If you’re still facing this issue then again open CMD prompt and do the following:
Type regedit and hit Enter.Navigate to the following registry key:
At the location, in the right pane, right-click the ImageState entry and select Delete.Exit CMD prompt and restart your PC.
Hope this helps!